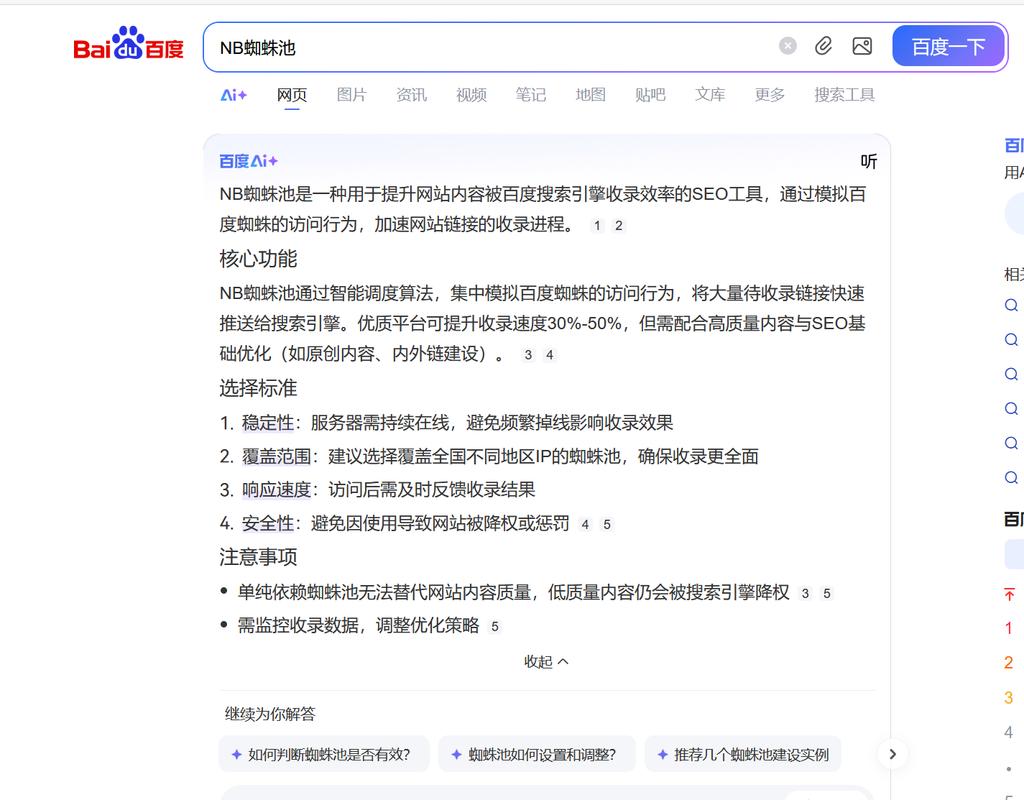
资源简介
千站云蜘蛛池是一套面向搜索引擎蜘蛛行为模拟与站点内容分发的集成系统。其安装过程涉及运行环境校验、依赖组件编译、数据库初始化、服务端配置与反向代理对接。以下按实际部署顺序展开说明,不省略关键判断步骤。
一、服务器基础环境要求
千站云蜘蛛池对系统资源与内核参数有明确下限。低于该配置会导致蜘蛛调度队列阻塞或数据库连接超时。
操作系统:CentOS 7.6 及以上或 Ubuntu 20.04 LTS。不推荐使用 CentOS 8 已停止维护的版本。
CPU与内存:最低 4 核 8G,生产环境建议 8 核 16G 起步。蜘蛛池并发请求数直接受内存与文件描述符限制。
硬盘:系统盘 40G 以上,数据盘建议 SSD 且不低于 200G。蜘蛛日志与缓存文件增长较快,需独立挂载 /data 分区。
内核参数调整:
ulimit -n 65535
echo "fs.file-max = 1000000" >> /etc/sysctl.conf
echo "net.ipv4.tcp_tw_reuse = 1" >> /etc/sysctl.conf
echo "net.ipv4.ip_local_port_range = 1024 65000" >> /etc/sysctl.conf
sysctl -p
上述参数未设置时,蜘蛛池在高并发抓取阶段会出现 Cannot assign requested address 错误。
二、安装依赖组件与运行库
千站云蜘蛛池核心服务基于 PHP 8.1 与 MySQL 8.0 构建,同时依赖 Redis 做队列缓存。以下命令按 CentOS 7 编写,Ubuntu 替换 yum 为 apt 即可。
安装 EPEL 与 Remi 源:
yum install -y epel-release
yum install -y https://rpms.remirepo.net/enterprise/remi-release-7.rpm
yum-config-manager --enable remi-php81
安装 PHP 及扩展:
yum install -y php php-fpm php-mysqlnd php-redis php-curl php-mbstring php-xml php-json php-zip php-opcache php-gd安装 MySQL 8.0:
yum install -y https://dev.mysql.com/get/mysql80-community-release-el7-7.noarch.rpm
yum install -y mysql-community-server
systemctl start mysqld
grep 'temporary password' /var/log/mysqld.log
安装 Redis 6.x:
yum install -y redis
systemctl start redis
systemctl enable redis
安装完成后执行 php -m 确认 redis、mysqli、curl、opcache 四个模块已加载。缺少任一模块,蜘蛛池后台会提示运行环境不完整。
三、创建数据库与导入初始结构
登录 MySQL 并创建专用数据库与用户。不要直接使用 root 账户运行蜘蛛池。
CREATE DATABASE qianzhan_spider DEFAULT CHARACTER SET utf8mb4 COLLATE utf8mb4_general_ci;
CREATE USER 'spider_user'@'localhost' IDENTIFIED BY 'StrongPassword_2024';
GRANT ALL PRIVILEGES ON qianzhan_spider.* TO 'spider_user'@'localhost';
FLUSH PRIVILEGES;
将千站云蜘蛛池安装包中的 sql/install.sql 导入:
mysql -u spider_user -p qianzhan_spider < /path/to/install.sql导入完成后检查数据表数量,正常应包含 qz_spider_log、qz_domain_pool、qz_url_queue、qz_user_agent、qz_proxy_list 等 12 张表。若表数量不足,说明 SQL 文件不完整或 MySQL 版本不兼容。
四、部署程序文件与目录权限
将千站云蜘蛛池主程序解压至网站根目录,例如 /www/wwwroot/spider.qianzhan.com。
cd /www/wwwroot/spider.qianzhan.com
unzip qianzhan_spider_pool_v3.2.zip
chown -R www:www /www/wwwroot/spider.qianzhan.com
chmod -R 755 /www/wwwroot/spider.qianzhan.com
chmod -R 777 /www/wwwroot/spider.qianzhan.com/runtime
chmod -R 777 /www/wwwroot/spider.qianzhan.com/public/uploads
runtime 与 uploads 目录必须可写,否则蜘蛛日志无法落盘,后台会持续报错“写入日志失败”。
复制配置文件模板并修改数据库连接信息:
cp .env.example .env
vim .env
需要修改的字段:
DB_HOST=127.0.0.1
DB_PORT=3306
DB_DATABASE=qianzhan_spider
DB_USERNAME=spider_user
DB_PASSWORD=StrongPassword_2024
REDIS_HOST=127.0.0.1
REDIS_PORT=6379
REDIS_PASSWORD=
APP_URL=https://spider.qianzhan.com
若 Redis 设置了密码,REDIS_PASSWORD 必须填写,否则队列服务无法启动。
五、配置 Nginx 反向代理与伪静态
千站云蜘蛛池依赖 URL 重写实现蜘蛛入口分发。Nginx 配置中必须包含 try_files 与 fastcgi 参数调优。
server {
    listen 80;
    server_name spider.qianzhan.com;
    root /www/wwwroot/spider.qianzhan.com/public;
    index index.php index.html;

    location / {
        try_files $uri $uri/ /index.php?$query_string;
    }

    location ~ \.php$ {
        fastcgi_pass 127.0.0.1:9000;
        fastcgi_index index.php;
        fastcgi_param SCRIPT_FILENAME $document_root$fastcgi_script_name;
        include fastcgi_params;
        fastcgi_read_timeout 300;
        fastcgi_buffers 16 32k;
        fastcgi_buffer_size 64k;
    }

    location ~ /\. {
        deny all;
    }
}
fastcgi_read_timeout 必须设置为 300 秒以上。蜘蛛池在批量推送 URL 时,单次请求可能超过默认 60 秒,导致 504 错误。
重载 Nginx:
nginx -t
systemctl reload nginx
六、启动蜘蛛池后台服务与队列进程
千站云蜘蛛池包含两个常驻进程:web 管理后台与 spider-worker 队列消费者。仅启动 web 服务无法执行蜘蛛抓取任务。
启动 PHP-FPM:
systemctl start php-fpm
systemctl enable php-fpm
启动队列消费者。推荐使用 Supervisor 托管,避免进程意外退出。
yum install -y supervisor
systemctl start supervisord
systemctl enable supervisord
创建 Supervisor 配置文件 /etc/supervisord.d/spider.ini:
[program:spider-worker]
command=php /www/wwwroot/spider.qianzhan.com/think queue:work --queue spider --tries 3 --timeout 300
process_name=%(program_name)s_%(process_num)02d
numprocs=4
directory=/www/wwwroot/spider.qianzhan.com
autostart=true
autorestart=true
user=www
redirect_stderr=true
stdout_logfile=/www/wwwroot/spider.qianzhan.com/runtime/worker.log
stopwaitsecs=3600
numprocs 根据 CPU 核数调整,建议为核数的 1 至 2 倍。4 核服务器设置 4 至 8 个进程。
重载 Supervisor:
supervisorctl reread
supervisorctl update
supervisorctl start spider-worker:*
执行 supervisorctl status 确认所有 worker 进程为 RUNNING 状态。
七、安装后校验与常见问题处理
访问后台地址:https://spider.qianzhan.com/admin。默认账户与密码在安装包 README 中提供,首次登录后立即修改。
检查以下三项:
第一,系统信息页显示 PHP 版本、MySQL 连接、Redis 连接均为绿色通过。若 Redis 显示红色,检查 redis 扩展与 Redis 服务状态。
第二,蜘蛛日志页有实时数据写入。若无数据,检查 supervisorctl status 中 worker 是否运行,并查看 runtime/worker.log。
第三,域名池页面可正常添加域名并生成蜘蛛入口 URL。若生成失败,检查 public 目录权限与 Nginx 伪静态规则。
常见错误一:后台提示“数据库连接失败”。检查 .env 中 DB_HOST 是否为 127.0.0.1,而非 localhost。MySQL 8.0 默认使用 caching_sha2_password 认证,若 PHP 版本低于 7.4 需修改用户认证插件为 mysql_native_password。
常见错误二:蜘蛛抓取返回 502。检查 PHP-FPM 进程数是否耗尽,调整 pm.max_children 至 200 以上,并确认 fastcgi_read_timeout 已延长。
常见错误三:队列任务堆积。执行 php think queue:monitor 查看队列长度。若持续增长,增加 Supervisor numprocs 数量或优化 Redis 内存配置。
八、安全加固与上线前检查
删除安装目录下的 install 文件夹与 test.php 探针文件。
修改后台默认入口路径。在 Nginx 配置中将 /admin 替换为自定义路径,例如 /qz-manage-2024,并同步修改程序路由配置。
限制后台访问 IP。在 Nginx 的 admin location 中添加 allow 与 deny 规则。
开启 HTTPS。使用 Let us Encrypt 或商业证书,并在 .env 中将 APP_URL 改为 https 开头。蜘蛛池部分接口对协议敏感,混用 http 与 https 会导致回调失败。
配置每日数据库备份。蜘蛛池域名池与日志表数据量增长迅速,建议使用 mysqldump 配合 crontab 在凌晨低峰期执行。
0 3 * * * mysqldump -u spider_user -p'StrongPassword_2024' qianzhan_spider | gzip > /data/backup/spider_$(date +\%Y\%m\%d).sql.gz完成上述步骤后,千站云蜘蛛池即进入可运行状态。后续需根据实际蜘蛛抓取频率调整 worker 数量与 Redis 缓存策略,以维持稳定的抓取调度能力。
亮点功能
- ✦ 百度蜘蛛池提交收录新策略:加速网站收录的实战指南
- ✦ 百度蜘蛛池提交收录新策略:加速网站收录的实战指南
- ✦ 百度蜘蛛池提交收录新策略:加速网站收录的实战指南